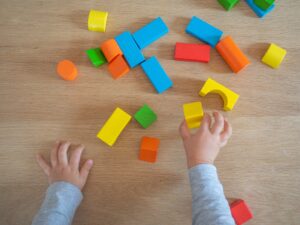
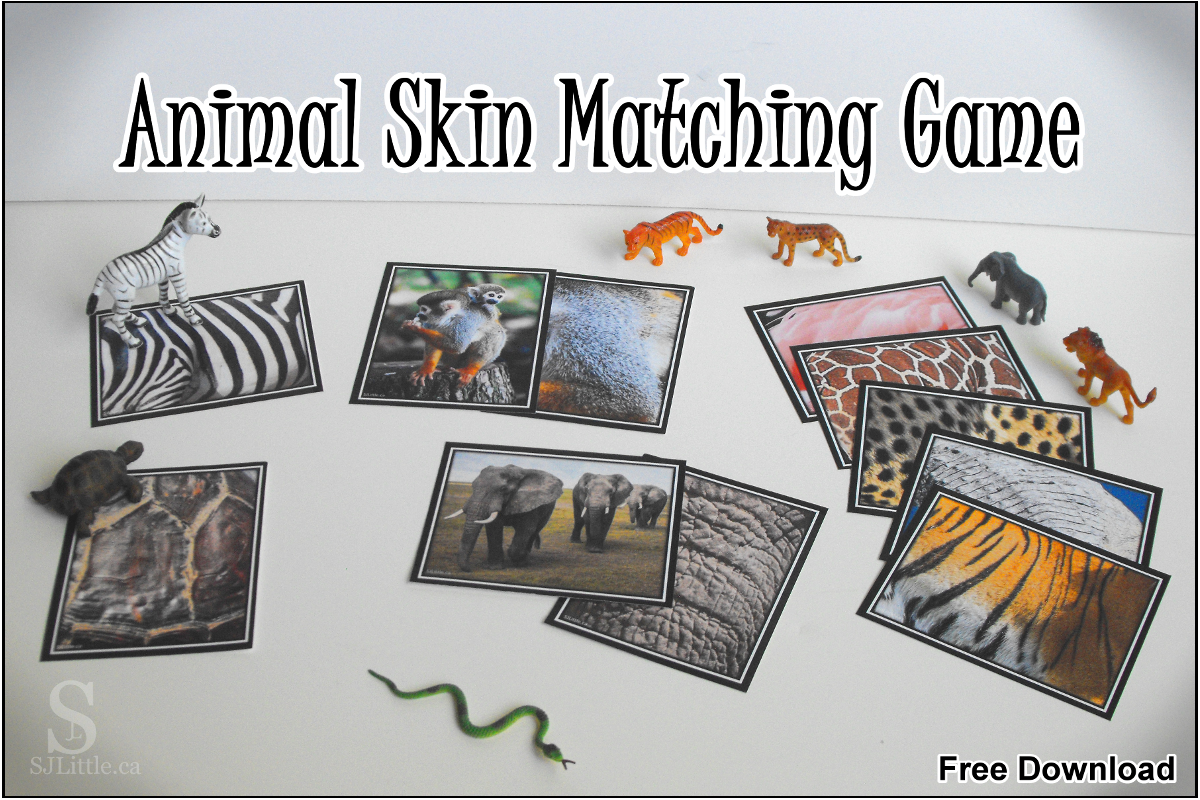
Preschoolers love animals and so do I. Preschoolers also love guessing and learning. That’s why I’ve created this Zoo Animal Skin Matching Game.
Get started
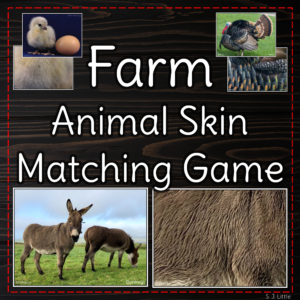
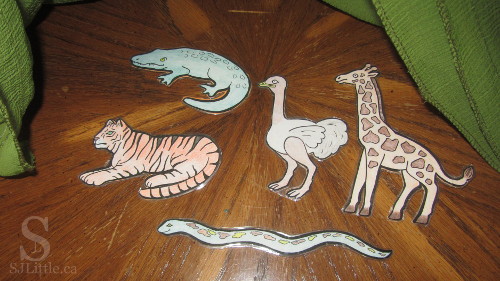
Download and print the free Zoo Animal Skin Matching Game which includes 12 zoo animal skin pictures and photos of the corresponding animals. No sign up needed. (Big thanks to the Unsplash community for providing such excellent photos!)
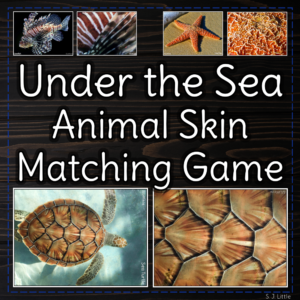
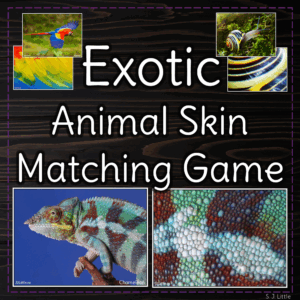
If you want more than the 12 Zoo Animals, I encourage you to join my email list to receive another set of 12 animals (Exotic Animals) for a total of 24. Additionally, check out my selection of other Animal Skin Matching Games available on Teachers Pay Teachers.
Cut out the photos and, if possible, laminate them for increased durability.
Optional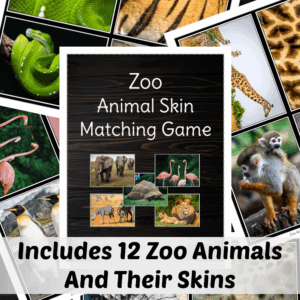
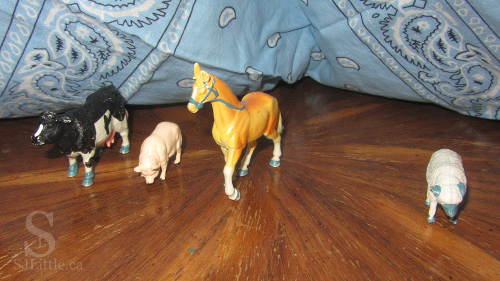
If you have a set of small zoo animal toys, I would encourage you to use those to match with the printed skin pictures rather than using the matching animal photos I have provided.
Play at home (groups of 1-4 children)
- Invite the children to gather around.
- Set several of the animal skins in front of the children. (For younger children start with only a few distinct skins until they catch onto the game. For older children you could set out all 12 skins.)
- Either set out all the matching animals or hand them to the children one at a time.
- Encourage the children to match the animals to the cards.
- Celebrate with the children when they have matched all the animals correctly!
- Consider furthering the fun and education by using ideas listed in the “extend the learning” section below.
Play in group circle time (groups of 5+ children)
- Count how many children you have and determine how you will enable each child to have a turn. The print out includes 12 animal skins to match. If you have more than 12 children, consider playing the game twice so that every child can participate.
- Before circle time, arrange the animal skins on a wall or board where everyone can see them. Have tape or sticky-tack ready so the children can attach the animals to the skins.
- Once everyone is gathered for circle time, point out the skins and explain that you will play a matching game.
- One at a time, call the children to the front and hand them an animal. Allow them to match their animal to the appropriate skin. (Younger children may need hints at first.)
- Consider furthering the fun and education by using ideas listed in the “extend the learning” section below.
Play in a video call
- Option one: Show one skin at a time and see if the children can guess what animal they belong to. (This works better for older children.)
- Option two: Show three skins and one animal. Encourage the children to guess which skin belongs to that animal.
- Consider furthering the fun and education by using ideas listed in the “extend the learning” section below.
Extend the learning
- Sing the animal song: “If You Want To Be A…”
- Read a zoo themed book. I have collected some of my favourite zoo books on my Pinterest board here.
- Many of the animal photos have more than one animal. Have fun counting them.
- See how many colours you can find in the photos.
- After the children have finished the animal skin matching game, consider taking the opportunity to talk with your children. Topics could include:
- Observe how different and unique each animal’s skin is, yet they are all animals. Discuss how people all look different but that doesn’t make us any less important – we’re all special!
- Talk about how each animal is good at something different – monkeys climb trees, turtles carry homes on their backs, giraffes reach leaves at the top of the trees, etc. Then steer the conversation to how each person is good at different things.
- Ask the children which animal is their favourite, or which they like pretending to be the most.
- For Christians: Marvel together at how amazingly complex and varied creation is and how that reminds us that God is far more spectacular than all the creatures He has made.
Exotic Animal Skin Matching Game
Free when you join S J Little’s email list (see form above)