Add A Little – 3 Year Old Curriculum – Unit 10
Water Fun
Disclaimer: All activities require adult supervision and discretion. Read more...
Want to learn more about Add A Little Curriculum? Check out the Parent / Teacher Guide
Movement Moment
Spot and Spray
Supplies:
- One or more spray bottles (clean), alternatively use water guns
- Chalk
Prep:
- Choose an area outside where you can write with chalk and spray it off.
Time to Play:
- Write several letters spaced out around your playing area. (Alternatively write numbers.)
- Explain to your child that you will tell them a letter, such as “W”, and they get to find that letter and spray it with water to erase it.
- Give your child the spray bottle and have them spray the letter you tell them.
- If you have multiple children playing, give each child a turn to spray one letter, then give each child a turn to spray a second letter, and so on.
Art Activity
Fishing Fun
Caution: This activity involves string, which can pose a strangling risk, and magnets which are harmful if swallowed and pose a choking hazard. Many 3 year olds are mature enough for this activity, but some are not. Adult supervision is required, and adult discretion is necessary as to whether this activity is appropriate for your specific child and setting.
Supplies:
- String – be sure the string is no longer than 8″ or 20cm. Consider using yarn or other string that has some thickness to it.
- 1 Stick per child – can use almost anything as the fishing rod stick, from an old washable marker to a 6-12″ or 15-30cm stick from outside.
- One magnet per fishing rod – keep in mind, magnets are hazardous if swallowed so choose your magnet carefully.
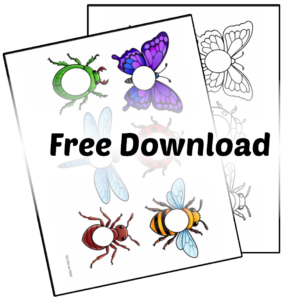
- Printed Fish Colouring Sheet (or blank paper you to draw your own fish on)
- 1 Paperclip per fish – double-check that your paperclips are attracted to magnets as not all are.
- Crayons or other colouring/decorating options
- Scissors
- Optional: Glue or tape to help with making fishing rods
Prep: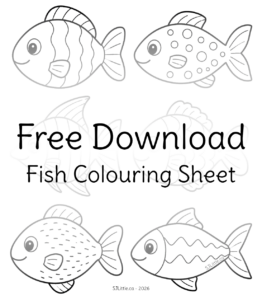
- Create one fishing rod per child.
- Print out the free fish colouring sheet download
- Optional: Cut the fish out ahead of time. Alternatively let your child cut the fish out after colouring them.
Time to Create:
- Show your child the fishing rod and explain that you are making fish to catch with it.
- Give your child the fish to colour with the crayons.
- Once the fish are decorated and cut out, secure a paperclip on the mouth of each fish.
- Put the fish on the floor and invite your child to pick them up with the fishing rod.
Five-Minute Focus
Let’s Learn Our Numbers
Number of the Unit:
10
Number Activity:
- Practice counting to ten using your fingers and then your toes.
- Sing the 10 Little Raindrops song below.
- For other number teaching techniques, visit: https://sjlittle.ca/preschool/teaching-the-abcs-at-circle-time/
Let’s Sing
10 Little Raindrops
Let’s Read
The Berenstain Bears at the Aquarium
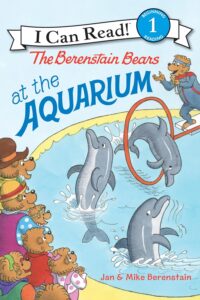
Jan & Mike Berenstain
Let’s Sing
Christian Song
Deep and Wide
Let’s Read
BIBLE
Read the next story in the picture Bible you are working your way through. Need recommendations for a good Children’s picture Bible? Click Here