Add A Little – 4 Year Old Curriculum – Unit 3

Plant Eaters Vs. Meat Eaters

Disclaimer: All activities require adult supervision and discretion. Read more…

Want to learn more about Add A Little Curriculum? Check out the Parent / Teacher Guide

Ready, Set, Move

“What They Eat” Sort

Academic Focus: Counting

Supplies:

  • Red paper – carnivore
  • Green paper – herbivore
  • Brown paper – omnivore
  • Toy animals (ideally small plastic animals of 20+ different species. Stuffed animals could be used if needed.)

Prep:

  • Optional: Write “Carnivore – Meat Eater” on the red paper, “Herbivore – Plant Eater” on the green paper, and “Omnivore – Eats Meat and Plants” on the brown paper.
  • Clear an area for active play

Time to Play:

  • Show your children the pile of animals in the middle of the room.
  • Explain to your children that different animals eat different things. Show each paper, describing what carnivores, herbivores, and omnivores are.
  • Place the three papers at the far sides of the room so the children will have space to run to them.
  • Have each child choose an animal and guess what it eats. Kindly tell them the correct answer. (Below is a list of common herbivores, carnivores, and omnivores.)
  • Encourage your child to run across the room to put the animal on the correct colour of paper.
  • Once all the animals have been sorted, go to each paper and count how many animals are on it.
  • Depending on your children’s attention span and skill level, consider playing again to see how many they remember.
  • Alternatively, extend the play by sorting the animals by different categories: land animal vs water animal vs flying animal, or animal families, or mammal vs reptile vs bird and so on. When done sorting, pause to count how many are in each group.

Here’s a list to help you out:

Plant Eaters
Herbivores

  1. Alpaca
  2. Beaver
  3. Bison
  4. Buffalo
  5. Butterfly
  6. Camel
  7. Caterpillar
  8. Cow
  9. Deer
  10. Donkey
  11. Elephant
  12. Elk
  13. Giraffe
  14. Goat
  15. Goose
  16. Grasshopper
  17. Guinea pig
  18. Hippopotamus
  19. Horse
  20. Iguana
  21. Kangaroo
  22. Koala
  23. Llama
  24. Moose
  25. Panda
  26. Porcupine
  27. Rabbit
  28. Reindeer
  29. Rhinoceros
  30. Sheep
  31. Tortoise
  32. Zebra

Meat Eaters
Carnivores

  1. Alligator
  2. Cat
  3. Cheetah
  4. Cougar
  5. Crocodile
  6. Dolphin
  7. Eagle
  8. Falcon
  9. Frog
  10. Hawk
  11. Hyena
  12. Jaguar
  13. Komodo dragon
  14. Leopard
  15. Lion
  16. Lynx
  17. Octopus
  18. Orca
  19. Owl
  20. Penguin
  21. Polar bear
  22. Praying mantis
  23. Scorpion
  24. Sea lion
  25. Seal
  26. Shark
  27. Snake
  28. Spider
  29. Squid
  30. Tiger
  31. Walrus
  32. Wolf

Plant and Meat Eaters
Omnivores

  1. Ant
  2. Baboon
  3. Badger
  4. Bear
  5. Blue jay
  6. Chicken
  7. Chimpanzee
  8. Chipmunk
  9. Coyote
  10. Crab
  11. Crow
  12. Dog
  13. Duck
  14. Emu
  15. Fox
  16. Hamster
  17. Hedgehog
  18. Lobster
  19. Magpie
  20. Monkey
  21. Mouse
  22. Ostrich
  23. Peacock
  24. Pig
  25. Raccoon
  26. Rat
  27. Raven
  28. Skunk
  29. Snail
  30. Squirrel
  31. Turkey
  32. Wild boar

Explore, Learn, Create

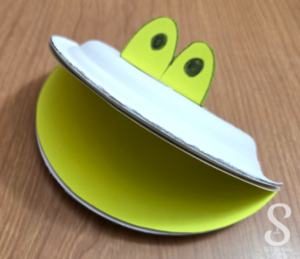
Paper Plate Puppets
Supplies:

  • Paper plates (1 per puppet) (dessert sized work well, but bigger are fine too. Choose plates that do not have a waxy finish.)
  • School glue
  • Cardstock (1 sheet per puppet)
  • Pencil
  • Child safety scissors
  • Markers (or other means of decorating)
  • Optional: Googly eyes

Prep:

  • Create an example puppet following the instructions below, then prepare the pieces for each child to make their own puppet.
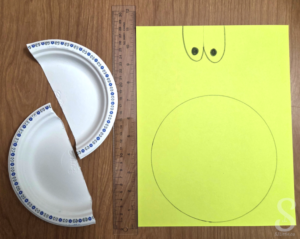
  • Trace the paper plate facedown on the cardstock.
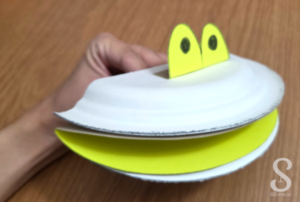
  • On the unused portion of the cardstock, draw a rectangle about 2.5″ (6cm) long and 2″ (5cm) wide. This will be the eyes. Gently draw a dividing line down the center of the rectangle and round the edges (as seen in the example photos).
  • Either cut the circle and rectangle out, or choose to let your child cut them out as part of the craft.
  • Fold the cardstock circle in half. This will be the inside of the mouth.
  • Cut the paper plate in half. The bottom of the plate with be the outside of the puppet.
Time to Create:

  • Invite your child to the table and show them your example puppet.
  • Optional: If your child is cutting out the cardstock parts, have them do so now.
  • Give your child the paper plate, the circle, and the rectangle. Encourage them to colour these pieces using the markers.
  • Once your child is done colouring their puppet, put glue on the rim of the halves of the plate. Press the plate face down on the outside of the folded circle. Attach the eyes on top.
  • Set the puppet aside to dry.
  • Extend the fun to practice counting, by playing a game with the dried puppets where you spread pompoms in front of your child and tell them that their puppet can eat a certain number of the pompoms.

Let’s Read

The Berenstain Bears’ Nature Guide

Available as part of:

The Berenstain Bears’ Big Book of Science and Nature
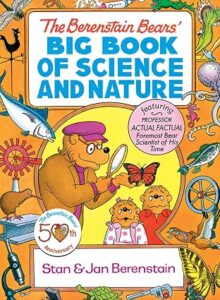
By: Stan & Jan Berenstain

Let’s Sing

Christian Song

Who is the King of the Jungle

Let’s Read

BIBLE
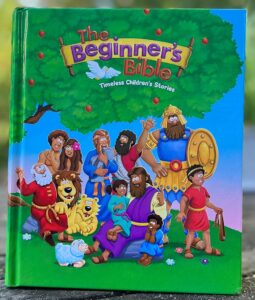
Read the next story in the picture Bible you are working your way through.
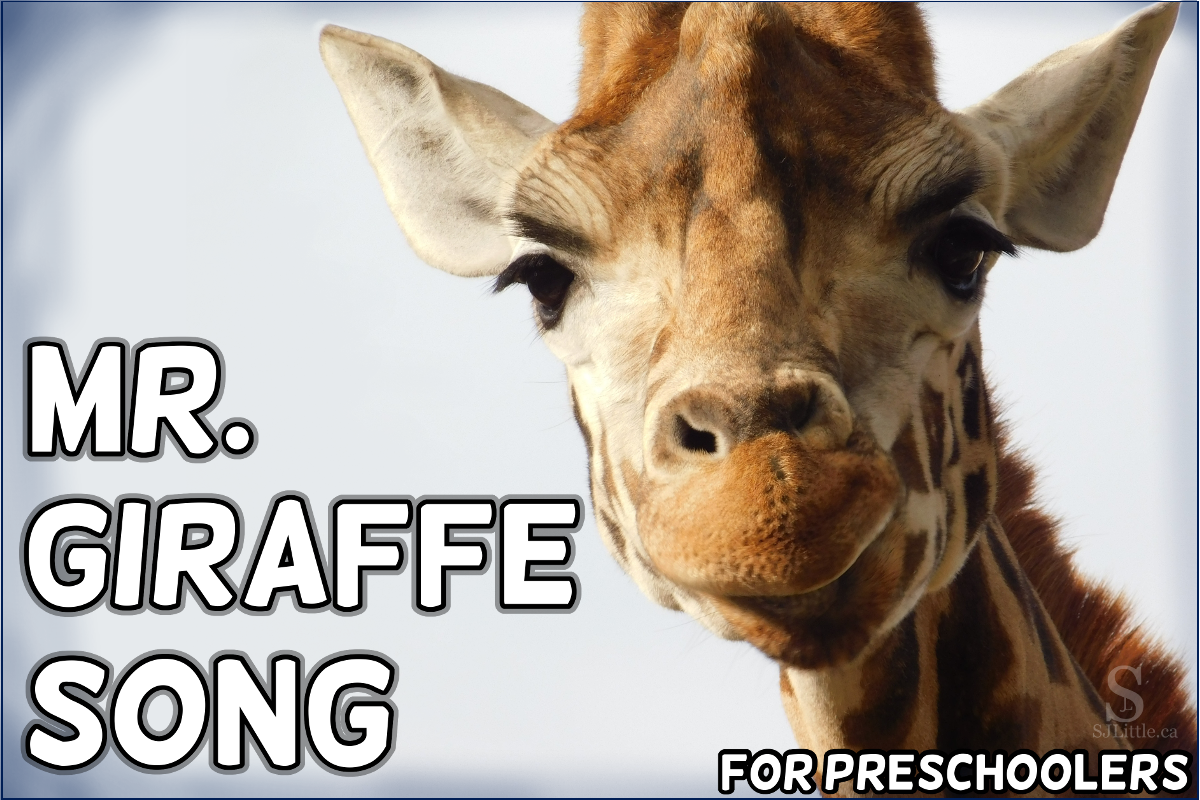
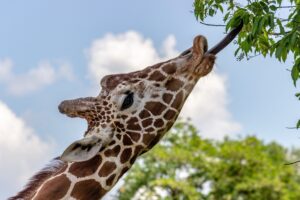
A giraffe behind the title: Mr. Giraffe Song


A few years back I was teaching my preschool children about different animals. One of the days my focus was on giraffes. For a craft, we ripped brown paper and glued it onto a giraffe colouring sheet. (See my lesson plan here.) Our story was “Abigail” by Catherine Rayner. The only thing missing was a song.

I did some research, but couldn’t find a good giraffe song. Therefore, I made my own.

This is an original preschool song by S. J. Little. Therefore, be sure to mention her as the author any time you write down or record this song.

Mr. Giraffe Song

Tune: Mary Had a Little Lamb

Lyrics by: S. J. Little


Mr. Giraffe is very tall,

His neck is long,

His legs are long.

Mr. Giraffe is very tall

So he can reach the leaves.


Mr. Giraffe has a special tongue;

A long tongue,

A purple tongue.

Mr. Giraffe has a special tongue

So he can reach the leaves.


Actions:

Very tall – stand on top toes and reach as high as possible

Neck/legs/tongue – point to the body part named

So he can reach the leaves – raise arms over head and grab with hands at pretend leaves as though they were a giraffe mouth


I hope you enjoy this educational preschool giraffe song. Don’t forget to sign up for my monthly preschool emails to learn more original preschool songs.


Flamingos behind the title: Flamingo Preschool Song


Not long ago, I created this brand new preschool song. It fits well with themes such as: Summer, Birds, Zoo, and Pink. The actions include standing on one foot which is a valuable skill for preschoolers to practice as they strengthen their gross motor muscles.

Did you know?

  • Flamingos sleep while standing on one leg.
  • Flamingos get their pink colour from their diet of shrimp and algae.

As this is an original song, please be sure to include my name as the songwriter any time you share this song.

The Flamingo Song

Words by: S. J. Little

Tune: Are You Sleeping


Flamingos flapping, flamingos flapping,​

Big pink wings, big pink wings.

Flying through the sky, flying through the sky.

Time to land! Time to land!


Flamingos standing, flamingos standing,

On one foot, on one foot,

Sleeping while they’re standing, sleeping while they’re standing,

Time to wake! Time to wake!

Actions

  • Flamingos flapping – flap your arms
  • Big pink wings – flap your arms bigger
  • Flying through the sky – tilt your body while flapping your arms to suggest soaring through the sky
  • Time to land! – Stomp and emphasize the word “land”


  • Flamingos standing – stand on one foot
  • On one foot – stand on one foot and hold up one finger
  • Sleeping while they’re standing – pretend to sleep while still standing on one foot
  • Time to wake! – startle awake and emphasize the word “wake”

I hope you and your children enjoy this original flamingo song. If you do, don’t forget to join my email list to stay tuned for more unique preschool songs.

Looking for more animal songs? Check out If You Want To Be A… (Preschool Animal Song)

Many preschool theme pictures


Having been asked about preschool themes to teach, I’ve compiled a list of various themes that can be used with a preschool child at home or with a whole class at a preschool or childcare centre.

I’ve attached a free printable pdf of my list of themes at the bottom of this post.

How long should you use a theme?

That depends on your situation and your children. I’ve taught in preschools that use one theme a week, though sometimes a big theme is extended over two weeks or more. Other preschools will choose to combine two themes and keep them for an entire month. The best length for you will be affected by how engrossed you are in the theme and how often you teach or do crafts regarding the theme. Also, pay attention to your children’s interests. If you know your children love animals, you likely could use an animal theme for longer. Other times, however, changing up the theme every week will keep the children more engaged.

What aspects can be affected by the theme?

You can embrace your chosen theme as much or as little as you want. Here are some areas you could choose to incorporate your theme.

  • Circle time:
    • The first place most people think of incorporating a theme is during the teaching time, referred to by preschool teachers as circle time. Themes can be incorporated through songs, stories, activities, and direct teaching. Using visuals is beneficial whenever possible.
    • If you’re looking for song ideas, glance at my Big List of Simple Preschool Songs.
  • Crafts:
    • There are endless craft ideas available online to go with nearly any theme. A quick search on Pinterest will show you a few. Keep in mind, theme-focused crafts are often product-oriented (i.e. the child is given a specific example to replicate). There are benefits to product-oriented crafts, but don’t forget to include some open-ended art as well. For “Autumn” you could give your child a blank paper and yellow, orange, and red paints to use however they’d like. For “Transportation” you could allow your child to drive cars through paint and make tracks on their paper. (Cleanup for this one is trickier!) For other open-ended ideas check out “Beyond the Paintbrush“ then put on your thinking cap to tie them into your theme.
  • Books:

    • If you have a local library, books are a great way to incorporate a preschool theme. Is “Under the Sea” your theme? Search for books about fish, sharks, and the ocean. Some themes have countless fantastic books, for other themes it’s harder to find suitable books. Here are some books I’ve enjoyed with my preschoolers, sorted by theme: Books for Preschoolers and Toddlers
  • Decoration:
    • Some preschools will totally transform their classroom with theme-based decorations (bulletin boards, posters, etc.). It’s a lot of work! Others rarely change their decorations. A happy compromise, in some cases, could be having one theme-decorated area or bulletin board that you change based on the theme. If you don’t have posters, consider putting up crafts the children made or printing colour sheets corresponding with the theme. However, don’t feel bad if you don’t decorate by theme. It is not essential.
  • Games/Gym:
    • Get creative during gym time. With preschoolers, a simple game such as this one “4 Sides Preschool Gym Game“ can be adapted to countless themes. Alternatively, if learning about Space, grab some hula hoops and pretend to fly to the moon together.
  • Field Trips/Outings:

    • Some themes work well to be taken outside the home/classroom. Are you learning about bugs? Go on a bug hunt around the yard or neighbourhood. Are you studying transportation? See how many different types of transportation you can find on a walk around the block.
    • Visit the zoo, aquarium, pet store, science center, or a farm, if your area has them.

Looking for more tips for how to implement a theme and use it to create a curriculum that’s just right for your children? Check out my post: Create Your Own Preschool Curriculum for Free

Preschool Themes List:

Any season:

  • All About Me
  • Alphabet
  • Numbers
  • Shapes
  • Colours
  • Safety
  • Community Helpers
  • Science
  • Space
  • Music
  • Emotions
  • Five senses
  • Healthy Eating
  • Healthy Habits
  • Reduce, Reuse, Recycle
  • Transportation/Things that go
  • Mighty Machines
  • Wheels
  • Ramps
  • Bible
  • Multicultural
  • Circus
  • Superheroes
  • Princesses and Pirates
  • Fables/Nursery Rhymes

Animal:

Here is a fantastic action song that could go with nearly any of these animal themes: If You Want To Be A…


  • Zoo Animals
  • Desert
  • Jungle
  • Safari
  • Birds
  • Pets
  • Bugs
  • Farm
  • Dinosaurs
  • Baby Animals
  • Under the Sea
  • Winter Animals
  • Forest Animals
  • North American Animals
  • Reptiles and Amphibians

Fall:

If your program begins in September, remember to keep these first few weeks simpler as you and the children settle into routine.

  • Welcome to School
  • Leaves
  • Apples
  • Harvest
  • Forest Animals
  • Fruits and Vegetables

Winter:

  • Winter Sports
  • Winter Olympics (when it’s on)
  • Winter Animals
  • Snowflakes
  • Snowmen

Spring:

  • Bugs
  • Flowers
  • Baby animals
  • How Plants Grow

Summer:

  • Beach Party
  • Fun in the Sun
  • Teddy Bear Picnic
  • Summer Olympics (when it’s on)

Special days:

  • There are many holidays that can also be used as themes, but I’ll let you make your own list of those.

 Click here to download your free printable pdf of the Preschool Themes List


What other themes would you add to the list?

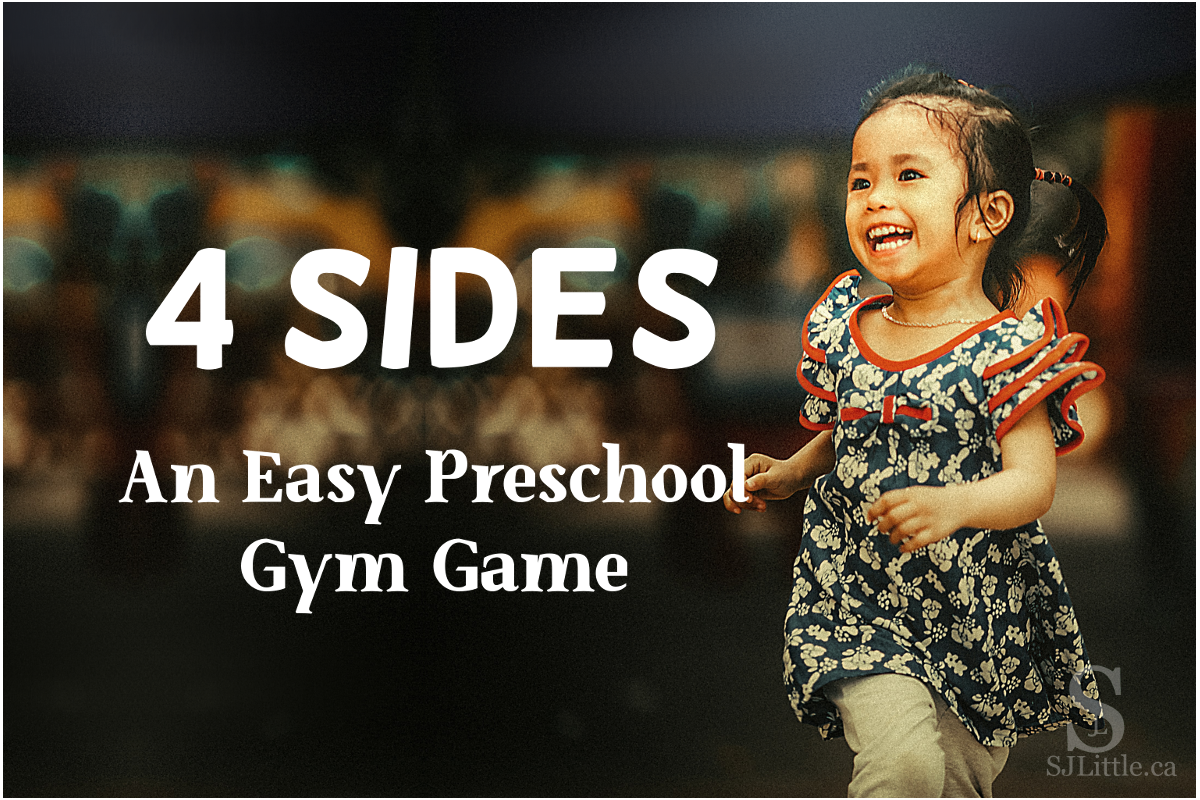
Girl running with a big smile

This game gets children moving with very little prep required. As an easy preschool gym game, it can be adapted to most spaces and adjusted for nearly any theme.

Set up

  • Designate four areas as the sides the children will be running to. 
    • In a gym with four walls, consider attaching a piece of coloured paper or a poster to each wall. (When playing with a group of children, I prefer using a wall rather than a corner so that the children have room to spread out.)
    • In an open area, such as a field, consider placing four different coloured hula-hoops to designate the four sides. (See other options below.) 

Play

  • To start the game, show the children each of the four sides. 
  • Call out an instruction, such as “Run to yellow!”
  • Run with the children to the “yellow” side.
  • Once everyone has arrived, call out another instruction. For example “Hop to blue!”
  • Alternate between actions that are exciting vs. quiet, fast vs. slow, and tricky vs. easy. (See my list of suggested actions below.)
  • Keep an eye on your children’s engagement level. As soon as they start losing interest, or preferably just before they do, wind up the game. Finish with one exciting action followed by one quieter action.
    • Ending with a quiet action will help prepare your children for the transition into the next activity.

Age

  • 2 Year Olds: At the basic level, this game works wonderfully with most 2 year olds. These youngsters will enjoy playing this game many times, if you change it up a bit each time.
  • 3 Year Olds: This is a great game for 3 year olds! They especially enjoy it if you can give them opportunities to call out the instructions.
  • 4 Year Olds: If you include more challenging actions, or perhaps increase the number of sides to 6 or 8, 4 year olds will enjoy this game. However, I recommend only playing it occasionally with 4 year olds, as they may begin losing interest if they play it too often.

Size of group

  • 1 Child: This game can be played with one child. It will go best if you play it with the child. Take turns calling out the instructions.
  • 2-8 Children: Having a small group of children makes this game more exciting, while enabling you to allow each child to have a turn or two calling the instructions.
  • 9+ Children: This gym game is excellent with a large group of children. However, you may not have the time to allow each child a turn to call the instructions. Therefore, unless you are sure you can give every child a turn, it is likely best to call all the instructions yourself.

Ideas for the four sides

  • If you don’t have walls to attach papers to, try using different coloured hula hoops, cones, or blankets. Alternatively, choose pre-existing objects to run to such as a bench, a flagpole, or a tree, etc.
  • If you have walls to attach papers to, your options are endless! For younger children, stick with simpler options, but for older children, enjoy challenging them with new vocabulary that is trickier.
    • Blank coloured paper: could be basic colours (red, yellow, blue, green),  or more tricky colours (purple, orange, brown, grey). You could even do themed colours (for Valentine’s day: red, pink, white, purple).
    • Shapes cut from paper: For 2 year olds, I have done basic shapes (circle, square, triangle, star). For older children try trickier shapes (rectangle, octagon, trapezoid, oval). You can cut whatever shapes you want! For example, you could do pet themed shapes (cat, dog, fish, bird).
    • Posters: if you are in a preschool or childcare facility, chances are you have various posters around. Why not use some of them? You could use transportation, zoo, or dinosaur posters to match the game with what the children are learning. (If you don’t have posters, colouring sheets could work.)
    • Flat objects: Consider using foam letters or large puzzle pieces for the four sides. So long as the four objects can be clearly distinguished by name, you can use just about anything.

Ideas for actions

  • Changing up the actions will help ensure a full-body workout for your preschool children. Be sure to use a variety of easy and challenging actions!
    • Basic actions:
      • Easy
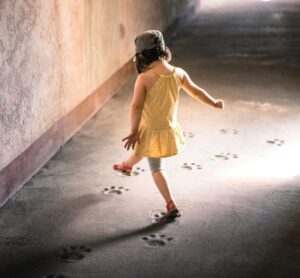
        • RunGirl walking on footprints
        • Hop
        • Fly (running with arms out as wings)
        • Stomp
        • Crawl
      • Medium
        • Skip
        • Walk sideways
        • Tiptoe quietly
        • Slow
        • Long steps
        • Tiny steps
        • Spin
        • Slither (or army crawl)
        • Bear crawl (on hands and feet with knees straight)
      • Hard
        • Hop on one foot
        • Crab walk (on hands and feet with tummy facing up)
        • Walk backwards (not recommended for larger groups, though it can work if you let them go two or three children at a time)
    • Other actions: Children have incredible imaginations! Engage their creativity with theme-based actions.
      • Zoo
        • Stomp like a hippo
        • Walk like a giraffe (stretch arms up and take long steps)
        • Run fast like a cheetah
        • Waddle like a penguin
        • Hop like a kangaroo
      • Dinosaur
        • Growl like a t-rex (make short arms and run while growling)
        • Stretch like a brachiosaurus
        • Fly like a pterodactyl
        • Stomp like a triceratops
      • Bugs
        • Buzz like a bee (make tiny wings with hands and run while buzzing)
        • Fly like a butterfly (flap arms as large gentle wings while crossing slowly and quietly)
        • Jump like a grasshopper
        • Crawl like a ladybug
      • I think you get the idea so I’ll stop my list here. This game could also work with themes such as: farm, under the sea, transportation, emotions, sports or Olympics.

How to choose which action

  • The basic way to play this easy gym game involves someone calling whichever action they want. (If you let the children make their own calls, you’ll end up with a lot of running!) Consider making the game more engaging and visually appealing for your children, especially if they are still learning English or have language delays by doing one of the following:
    • Dice:
      • Before playing the game, choose 6 actions and write them on a die. (You can make your own dice out of cardboard, or try looking for giant dice at your local dollar store.)
      • Hand the die to the child who is calling the instruction. Whatever they roll, that’s the action you’ll do next.
    • Use picture cards:
      • Use themed cards, such as animal cards, to determine the next action.
      • The child who is calling the instruction pulls a card from a bag (looking or not looking, you choose). Whatever action is on the card, that’s what everyone does.
      • If you don’t have picture cards or action cards to use, you can likely find some online to print. As another option, print a copy of my Free Zoo Animal Skin Matching Game cards to use.
    • Use small toys:
      • Alternatively, look around at what you have. Small plastic animals could be drawn from a bag.

This easy preschool gym game will be a fantastic addition to your preschool gym games tool belt. You may even find that it becomes one of your favourites!

Need more action ideas, or want to share your variation of the game? Comment below.

Looking for more no prep, super easy preschool gym ideas to get your children moving? Here are some ideas:

Interested in a preschool song that can go with just about any animal theme? See “If You Want To Be A…”