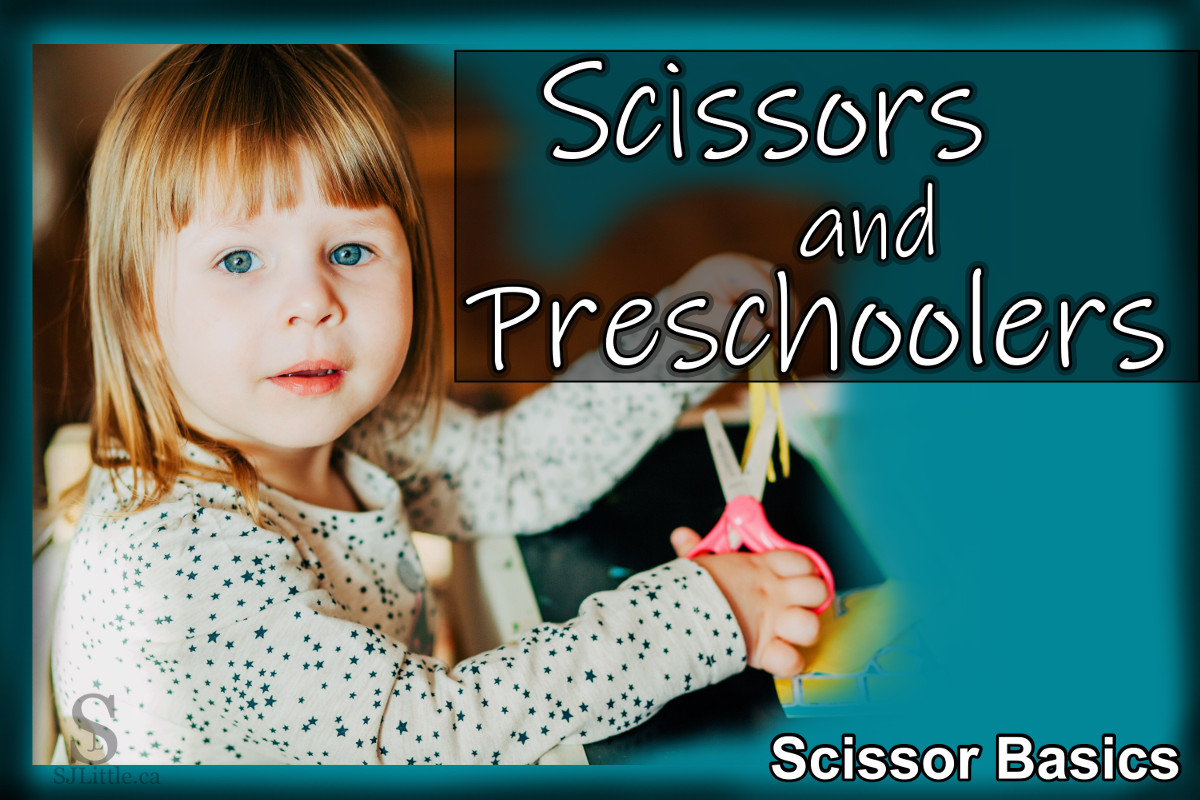
When should children learn to use scissors? At what age are they too young? How should I teach my preschooler to use scissors?
If you’ve asked any of these questions, then you’re in the right place. As a preschool teacher who has worked closely with children, 2-5 years old, for over 9 years, I’ve learned a thing or two when it comes to teaching young children how to use scissors. In this blog post, I’m going to share what I’ve learned with you.
Why teach preschoolers how to use scissors?
If you’ve been around early learning and child care settings, you will likely have heard the term “fine motor muscles.” Fine motor muscles are the small muscles in the hands, especially those needed to hold a pencil. A child with strong fine motor muscles has a distinct advantage when it comes to learning to hold a pencil properly for writing. Therefore, we want to provide many opportunities for children to exercise their fine motor muscles. One excellent way to do so is by using scissors.
Added to that, a child who goes into Kindergarten feeling comfortable and moderately capable with scissors will have an advantage during various crafts and activities that require the use of scissors.
Which scissors to start with?
There are three basic types of scissors for preschoolers.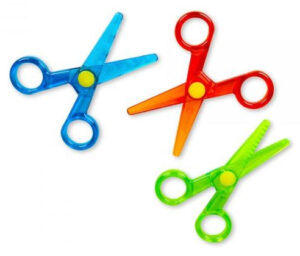
- Entirely plastic safety scissors – These are the type of scissors that can cut playdough, but not much else. Most of them do not work well on paper. Crayola makes my favourite type of these scissors. They come in a set of three. I have no problem leaving these scissors freely at the playdough table for children even as young as 2 years olds. I have seen these available at various stores that also sell Crayola markers and crayons.
- Metal safety scissors – These scissors look like regular adult scissors except that they are smaller and have a rounded point rather than a sharp tip. These sorts of safety scissors are widely available in stores. Note that they are sharp enough to cut various materials and, therefore, require adult supervision.
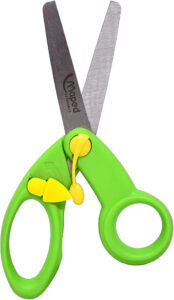
- Spring safety scissors – These scissors look identical to typical metal safety scissors, except for the addition of a spring. Children with weak fine motor muscles are typically able to close the scissors, but may find it difficult to reopen the scissors without using their second hand to help. Preschools often have a pair or two of these spring scissors. If you are only teaching one or two children how to use scissors, buying these special spring scissors typically is not needed. If your child struggles to open the scissors at first, don’t be worried. Simply keep practicing with the scissors and providing other fine motor exercises to strengthen their muscles.
Going forward in this article, I will be referring to the second (and/or third) type of scissors, but not the first entirely plastic ones.
When to teach preschoolers how to use scissors?
If you asked me to pinpoint an age when most children are ready to begin using scissors, I would say 2.5 years old. However, I say that cautiously. Having worked with countless children, I have noticed that some children are very impulsive and unaware of what they are doing with their hands. These children may not be ready to begin using scissors until they have matured more as scissors can be dangerous when not handled well.
Also, only bring out the scissors during calmer parts of the day. If you have multiple children around, you do not want the others running nearby while scissors are being used.
How to teach preschoolers to use scissors?
Before I tell you how to teach your preschooler to use scissors, a word of caution. Scissors are dangerous. Children, and those instructing them, must treat scissors with a degree of respect.
- Model

- If your child has never watched someone use scissors before, take a moment to grab a piece of paper and a pair of scissors and show them how to cut.
- Thumbs up
- Although this may feel awkward for your child at first, the proper posture when using scissors is to have thumbs up. By that, I mean that the hand holding the scissors has the thumb on the top and the fingers on the bottom when cutting. Similarly, the hand holding the paper, which I like to call the “helper hand”, should have the thumb on top of the paper and the fingers underneath. For many children, this takes practice and several gentle reminders.
- Supervise
- Again, scissors are dangerous – to you, your child, and to the environment around them. Be intentional to tell your child that scissors are only for paper. A child left unsupervised with scissors is prone to cutting something that shouldn’t be cut, whether the tablecloth, their clothing, the nearest ribbon, etc. This is also the age for self-haircuts. Nearly every year one of my children shows up one day with a very short haircut accompanied by their parent’s explanation that the child gave themselves a haircut. Therefore, I repeat, keep an eye on your child when they are using scissors.
Techniques for teaching children to use scissors
1. Hand-over-hand – this technique I recommend for the first few times your child uses scissors, especially if they are younger than 4 years old. For some children, only one time of hand-over-hand is needed. For other children, I would use hand-over-hand for several months before trusting them to use scissors on their own.
-
- The hand-over-hand technique is exactly what it sounds like. I put my right hand over the child’s right hand and my left hand over their left hand. I find this works best if I sit on a low seat and have the child stand in front of me. In this way, I am more or less providing training wheels for the child as they learn to use scissors. While using the hand-over-hand technique, I help the children make crafts.
2. Free cutting – Some children are able to skip the hand-over-hand technique and move right to this one. Some teachers start all their children with this technique.
-
- Collect a pile of papers, flyers you are planning to recycle work well. Have the child sit at a table. Give them a pair of scissors and several pieces of paper. Allow them to freely cut the paper however they wish. Many children will end up cutting the paper into itsy bitsy bits. That’s just fine. The goal of this technique is to give the children space to build the fine motor muscles needed to use scissors and to become comfortable using scissors on their own.
3. Following a line – Some children will be more engaged with their scissors if they are making something. There are various ways to give them an opportunity to do this, even when they are just starting out with scissors. I will list a few below.
Ways to incorporate scissor practice into a craft
- Choose a colouring sheet that matches your theme, draw a line around the image on the colouring sheet. Be sure the line is distinct from the lines of the image, perhaps by being a different colour. Have the child cut along the line. Then allow the child to colour, paint, or otherwise decorate the picture.
- If your craft includes several parts that you would typically cut beforehand and then give to the child to glue together, consider allowing your child to cut out one of the bigger pieces. For beginner cutters, it should be no smaller than a quarter of a sheet of paper. Once they have cut it out, have them proceed with the craft as usual.
- Let the child cut something to glue on. For example, if you’re talking about food, you could give your child a grocery store flyer and encourage them to cut out various food items and glue them on a piece of paper. Alternatively, let them cut a piece of paper into itsy bitsy bits and then glue the paper onto a picture to make a flower, etc.
Tips
- Round lines are harder than straight lines
- If your child gets distracted while holding scissors, gently remind them to look at their scissors when they are cutting.
- Teach children that their helper hand is the one that should be turning the paper to follow the line. Their scissor hand should stay mostly straight in front of them rather than turning with the line.
- Slightly thicker paper is often easier for children at first.
- Teach the child, perhaps by modelling it, that when they are following a line and go off track, they need to stop and cut towards the line to get back on track.
What are some of your favourite scissor activities for your child?


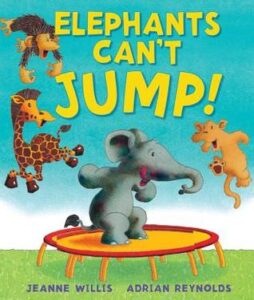 Elephants Can’t Jump
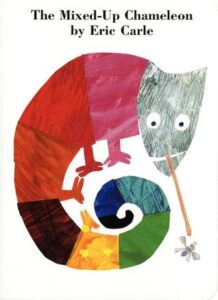 The Mixed-Up Chameleon
 I Wish I Had Duck Feet Written by Dr. Seuss, Illustrated by B. Tobey
 You are Special Written by Max Lucado, Illustrated by Sergio Martinez