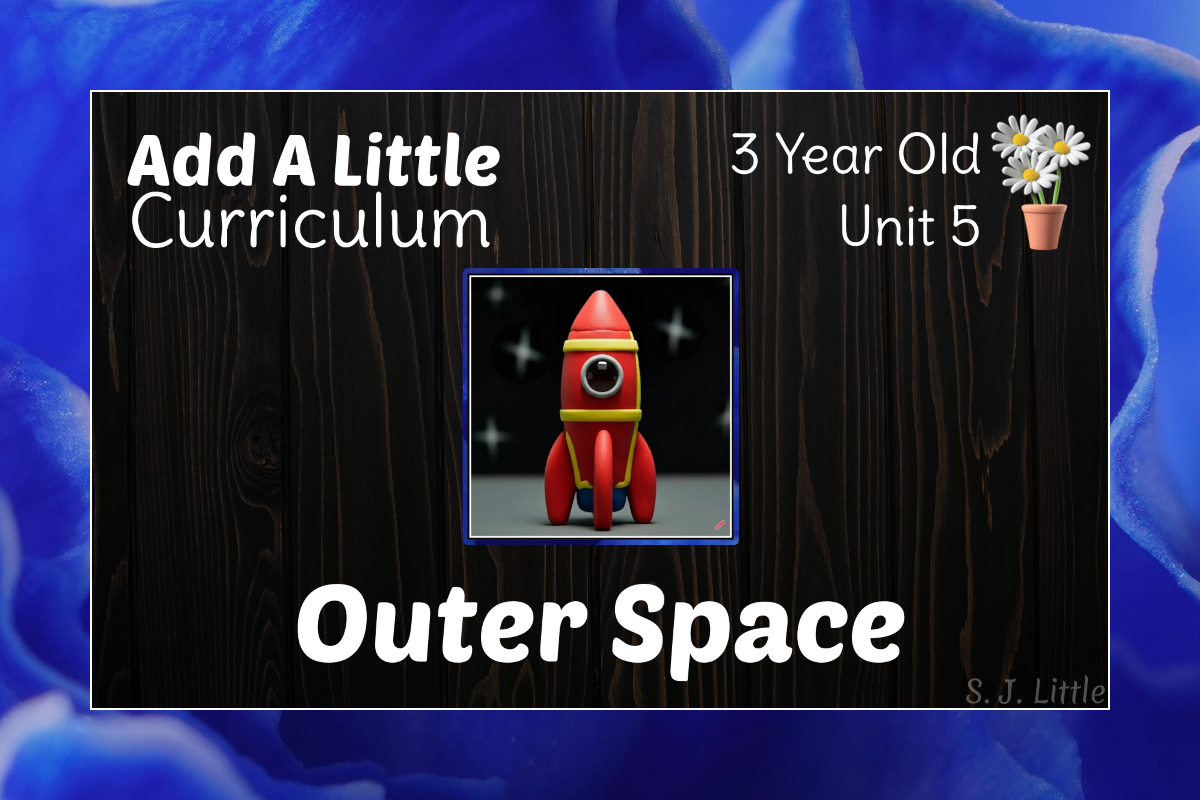
Add A Little – 3 Year Old Curriculum – Unit 7
Construction Site
Disclaimer: All activities require adult supervision and discretion. Read more...
Want to learn more about Add A Little Curriculum? Check out the Parent / Teacher Guide
Movement Moment
Fill the Dump Truck
Supplies:
- An empty laundry basket
- Lots of balls – consider light plastic balls or create temporary soft balls by rolling up fuzzy socks. (Alternatively, use small foam blocks, etc.)
Prep:
- Clear an area for active play.
- Pull all the balls in the laundry basket.
Time to Play:
- Gather your children around. Explain that you are going to pretend the laundry basket is a dump truck, and all the kids are excavators (diggers) or front-end loaders.
- Dump the balls on the floor and join your children in moving and sounding like machines as they scoop the balls back into the “dump truck”.
Art Activity
Cut Out a Digger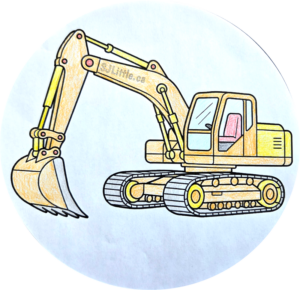
Supplies:
- Child safety scissors
- Digger colouring sheet (Click here for Free Printable)
- Crayons, markers, or paint, etc. to add colour
Prep:
- Print one digger colouring sheet per child
Time to Create:
- Show your child the digger colouring sheet. Especially show them the black circle around the digger. Explain that they will use scissors to cut on this black circle.
- Remind your child to hold the scissors and paper with thumbs up.
- Give your child the paper and scissors.
- Supervise and encourage your child as they cut around the circle. It doesn’t need to be perfect.
- After they have cut all the way around the circle, take away the scissors and give your child crayons, etc. to colour the digger.
Note to parent/teacher: Using scissors is a great way to strengthen fine motor skills. Most children are mature enough to use scissors with supervision at 3 years old. For more tips regarding teaching scissor skills to preschoolers, check out my post: Scissors and Preschoolers
Five-Minute Focus
Let’s Learn the Numbers
Numbers of the Unit
1 2 3
Number Activity
- Supplies: Lego or other building blocks
- Time to Learn:
- Using the Lego or blocks, create a 2D model of numbers 1, 2, and 3.
- Give your child the blocks and encourage them to create the numbers themselves. They may copy how you did it, or do it their own way.
-
For other letter teaching techniques, visit: https://sjlittle.ca/preschool/teaching-the-abcs-at-circle-time/
Let’s Sing
Johnny Works With One Hammer
Let’s Read
Little Excavator
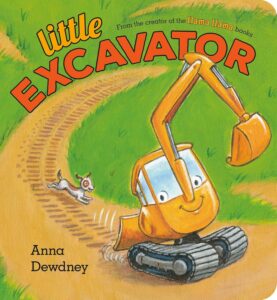
By: Anna Dewdney
Let’s Sing
Christian Song
The Wiseman Built His House on the Rock
Let’s Read
BIBLE
Read the next story in the picture Bible you are working your way through. Need recommendations for a good Children’s picture Bible? Click Here