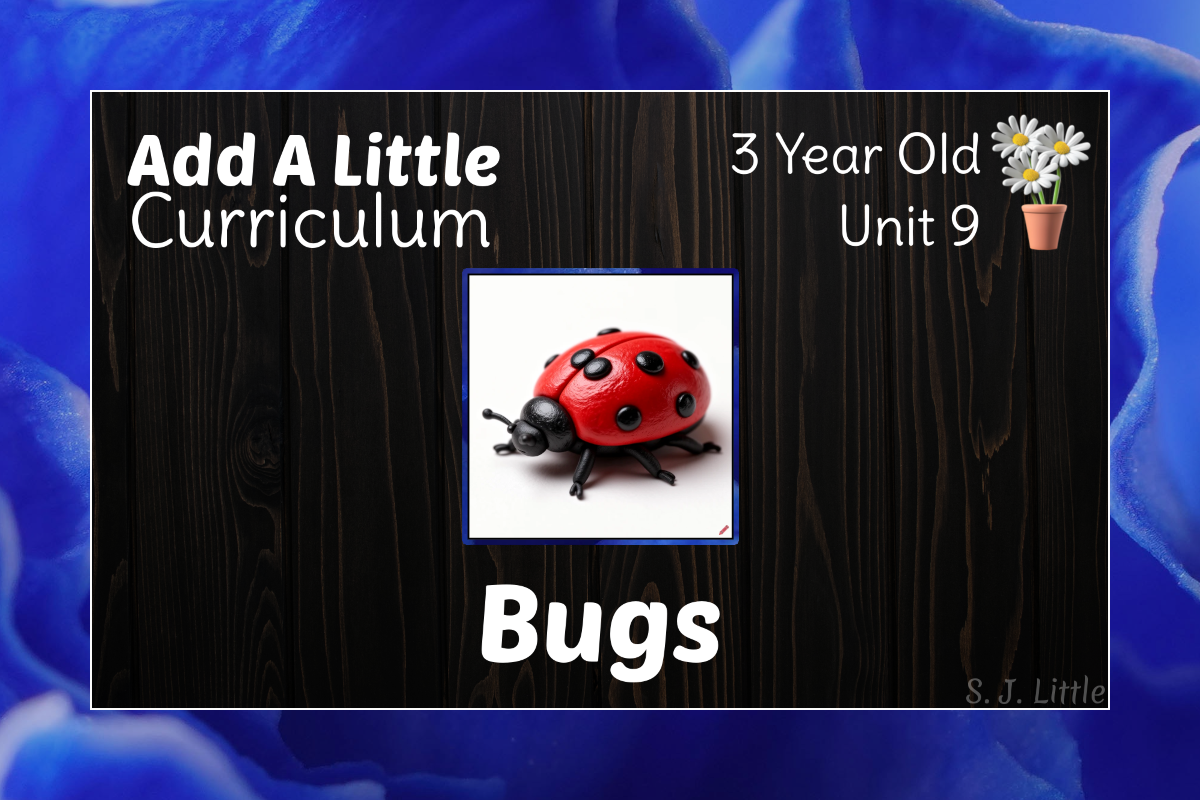
Add A Little – 3 Year Old Curriculum – Unit 9
Bugs
Disclaimer: All activities require adult supervision and discretion. Read more...
Want to learn more about Add A Little Curriculum? Check out the Parent / Teacher Guide
Movement Moment
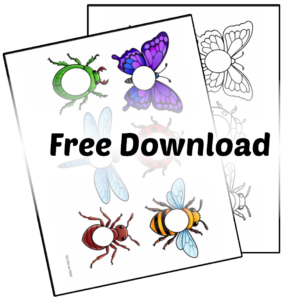
Stomp A Bug
Supplies:
- Print multiple copies of the Bug Stomp free download (alternatively, draw your own bugs)
- 1 Marker
Prep:
- Cut out each bug (doesn’t have to be fancy cutting – can be left in loose ovals).
- Decide which letters or numbers you want to work on with your child. (You can do the numbers of this unit, a few letters, the whole alphabet, or, if doing the activity with only one or two children, the letters of their name. If playing with a large group of children, consider having multiple bugs with each letter.)
- Write one letter or number on each bug.
- Clear an area for active play.
Time to Play:
- Place the bugs on the floor. If they are slippery, consider taping them down.
- Call out a letter, such as “A”. Have all the children run to find the bug with “A” on it. Continue the fun by calling another letter to run to.
- Once your children have the hang of the game, consider adding actions as well. For example: “Hop to ‘E’.” Or “Tiptoe to ‘5’.”
Art Activity
Ladybug Painting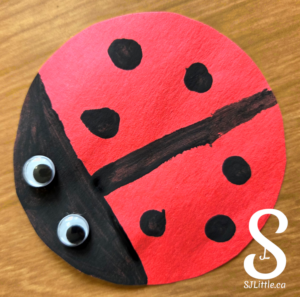
Supplies:
- Red paper
- Child safe scissors
- Black paint
- Small container/plate for putting black paint in
- Q-tips or other cotton swabs
- One marker
- Optional: Googly eyes
Prep:
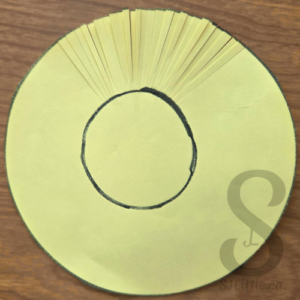
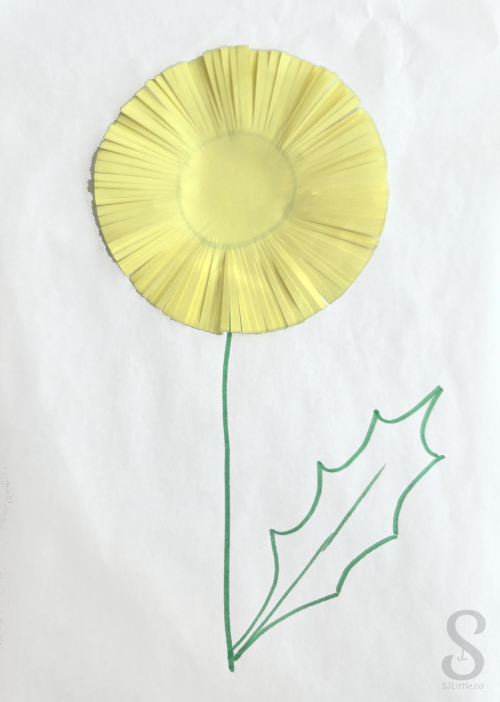
- Boldly trace a circle onto the red paper. The circle can be around 4″ or 11cm in diameter.
- Pour a small amount of black paint into the container (you don’t need much).
- Create a sample for your child to reference by following the steps below.
Time to Create:
- Give your child the red paper with the circle traced on it. Have them cut out the circle.
- Next, using the Q-tip and black paint, help them paint a line for the head and a line to divide the two wings.
- Let them cover the head with paint and add spots to the wings.
- Optional: Add googly eyes to the head.
Five-Minute Focus
Let’s Learn Our Numbers
Numbers of the Unit
7 8 9
Number Activity
Supplies: 9 buttons per person (child and teacher)
Time to Learn:
- Count out 7 buttons. Arrange them in the shape of number seven. Have your child copy with their buttons.
- Next, count out 8 buttons. Arrange them in the shape of number eight. Have your child copy.
- Repeat for number 9.
-
For other letter/number teaching techniques, visit: https://sjlittle.ca/preschool/teaching-the-abcs-at-circle-time/
Let’s Sing
Butterfly, Ladybug, Bumblebee
Let’s Read
The Very Busy Spider
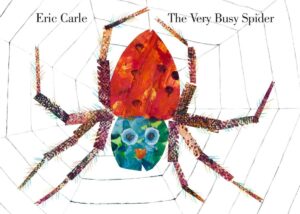
Eric Carle
Let’s Sing
Christian Song
What A Mighty God We Serve
Let’s Read
BIBLE
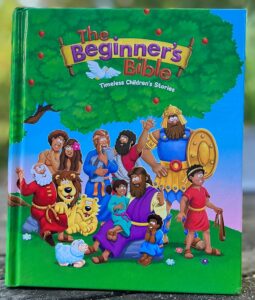
Read the next story in the picture Bible you are working your way through. Need recommendations for a good Children’s picture Bible? Click Here
Bonus!
Check out to catchy upbeat song “Work Like the Ant” by Amy Essen