Add A Little – 1 Year Old Curriculum – Intro
Parent / Teacher Guide
Intro
Why name a curriculum “Add A Little”? Because that’s exactly what this curriculum is designed to do – add a little enhancement to your child’s development by providing ideas and activities for you to do with them. This light curriculum was developed with the busy parent or caretaker in mind. It is divided into monthly units of repeatable activities.
Activities For 1 Year Olds
Every 1 year old develops at a different pace. The Add A Little 1 Year Old Curriculum is designed to be easily adapted to your toddler’s developmental level and interests. Units 1-5 target children aged 12-18 months while units 6-10 focus more on activities of interest to children aged 18-23 months. Units 11-12 are optional Christmas and Easter themed units designed to hold appeal for ages 12-23 months.
Check out the Tips for Success below.
Table of Contents
Materials
Each Unit Includes:
- Theme
- Vocabulary
- Let’s Wiggle
- Let’s Explore
- Let’s Sing
- Let’s Read
- Let’s Sing a Christian Song
Tips For Success When Using Add A Little Curriculum
Disclaimer
Units
Helpful Links
Materials
To keep things easier for you, most of the materials used in the Add A Little 1 Year Old Curriculum are things you likely already have or can access inexpensively. Some activities call for recyclables. If you don’t already, I recommend washing and collecting various recyclable items since they can make excellent toys. More specifically, recyclable materials you will need this year include:
- Paper towel tube (or a couple of toilet paper tubes)
- One aluminum pie tin or similar (holes in it are fine)
- Several plastic containers with lids from things such as yogurt, margarine, grated parmesan cheese, or cream cheese
- (Watch out for lids that are too small, thus creating a choking hazard.)
- Cardboard boxes, including one big one
- One clean egg carton
Each Unit Includes:
Theme
Each month, all activities will be loosely based around an age-appropriate theme.
Vocabulary
Try to find opportunities to incorporate the suggested vocabulary words throughout the month so that your child can learn to recognize them.
Let’s Wiggle
These activities involve full-body movements. Your child will strengthen their big muscles (gross motor muscles) and improve their coordination. Did you know that exercise and big movements are important for brain development too?
Let’s Explore
Here you will provide your child with an opportunity to investigate and manipulate intriguing materials. These activities often involve hand-eye coordination and smaller muscle strengthening (fine motor muscles).
Let’s Sing
Music is an important part of brain development and it’s fun! Each unit will include one suggested simple song. Sing this song often throughout the month so your child can learn it.
Want more songs or don’t like one of the suggested songs? Check out this list of songs including classics and originals: https://sjlittle.ca/preschool/big-list-of-simple-preschool-songs/
Let’s Read
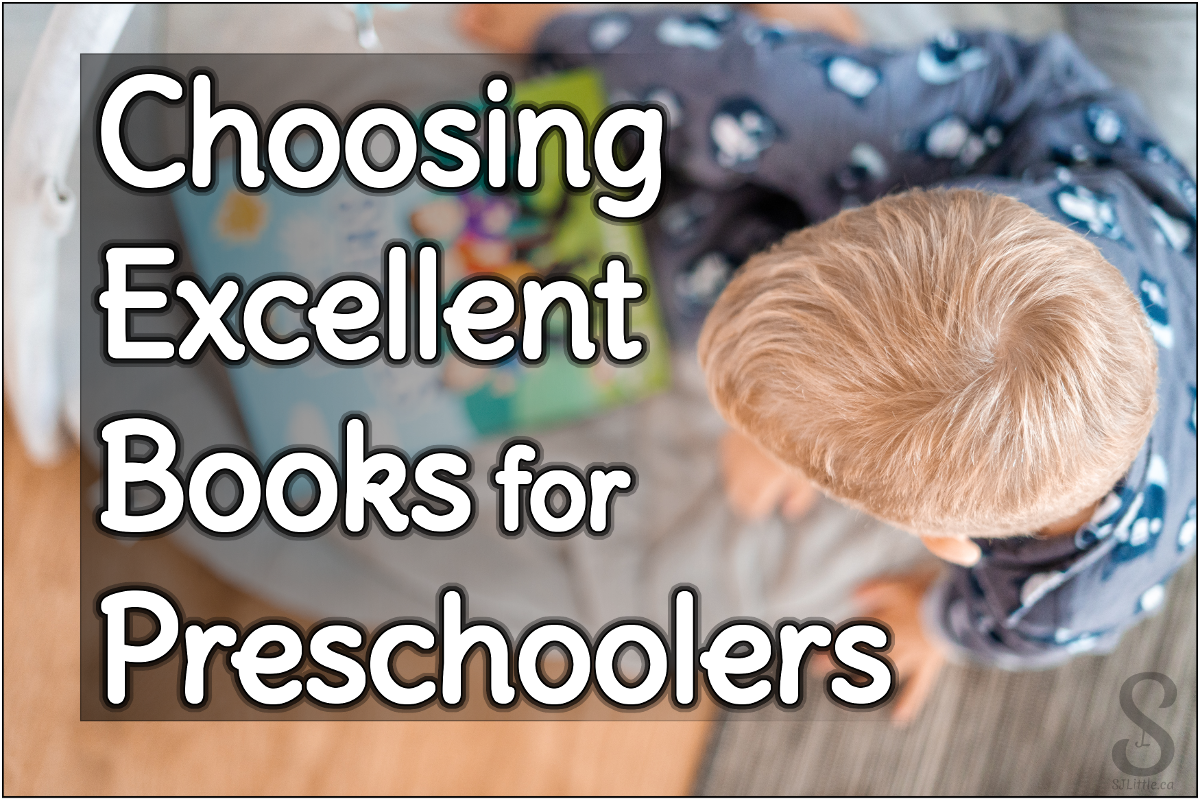
Being read to is an important pre-reading experience. Books also help expand your child’s vocabulary and general knowledge base. If you don’t have the book I recommend, you could check with your library or buy it. If you don’t want to buy the book, no problem. Try searching for something similar at your local library.
Here are some tips for finding good books. https://sjlittle.ca/preschool/choosing-excellent-books-for-preschoolers/
Also, check out my board of recommended books for toddlers:
- Books for 12-18 month olds: https://www.pinterest.ca/sjlittleauthor/books-for-toddlers-12-18-month-olds/
- Books for toddlers and preschoolers: https://www.pinterest.ca/sjlittleauthor/books-for-preschoolers-and-toddlers/
Let’s Sing a Christian Song
Each unit includes a bonus Christian song suggestion for those who are interested. Not your thing? That’s fine. Feel free to skip over this part. Want more Christian songs? Visit: https://sjlittle.ca/preschool/7-simple-christian-songs-for-preschoolers/
Tips For Success When Using Add A Little Curriculum
How do I get my child to participate in the activities?
-
Model Then Encourage
- One year olds love to copy. If your child doesn’t immediately engage in an activity, sit down and do it yourself for a few minutes.
- Once you’ve set an example of how to participate, encourage your child to join you. Try handing them one of the pieces. Cheer for them when they do join in.
- If they still don’t want to join in, don’t sweat it. Put the activity aside and assess what their reason for not engaging might be (tired, hungry, feeling too wiggly, etc.). Try the activity again in a few days.
-
Adapt
- Every child is different. That is perhaps never more true than when considering 1 year olds. Some one year olds can walk, others can’t yet. Some can talk, others just aren’t there yet. Some put everything in their mouth, others rarely put anything in their mouth. You know your circumstance and your child’s abilities and interests. Take a moment to consider the suggested activity, then adapt it to your own situation.
-
Repeat
- 1 year olds thrive on repeated activities with slight tweaks to give them just a little more to explore each time. While the Add A Little curriculum only provides two activities in each unit, these activities could be repeated several times throughout the month, and during the following months as well.
-
Less Is More
- Did you know that young children play better with less toys at a time? Try putting away most of their toys before attempting to engage them in a new activity. Putting most of their toys away also allows you to do toy rotation. If you haven’t tried toy rotation, read this article https://sjlittle.ca/preschool/toy-rotation/ . You’ll be amazed at the difference it makes to your child’s play.
Disclaimer
All activities require adult supervision and discretion.
Every aspect of the Add A Little Curriculum is suggested with the expectation that it will be done under adult supervision. Some activities include potential hazards. You and your child(ren) participate at your own discretion.
Every child, family, setting, and circumstance is different. Recommended tips and/or activities in this curriculum may work well for some children but not for others. Adult discretion is required. In some cases, you will need to adapt the curriculum to fit you and your child(ren)’s specific needs.
Want More?
Do you want to stay up to date with new activities and resources as they are released? Join S. J. Little’s preschool email list today.
Helpful Links
Smoother Transitions: https://sjlittle.ca/preschool/smoother-transitions/
Choosing Excellent Books https://sjlittle.ca/preschool/choosing-excellent-books-for-preschoolers/
Big List of Simple Preschool Songs https://sjlittle.ca/preschool/big-list-of-simple-preschool-songs/
Toy Rotation https://sjlittle.ca/preschool/toy-rotation/
Preschool, Playschool; Daycare, Day Home, What’s the Difference? https://sjlittle.ca/preschool/preschool-playschool-daycare-day-home-whats-the-difference/