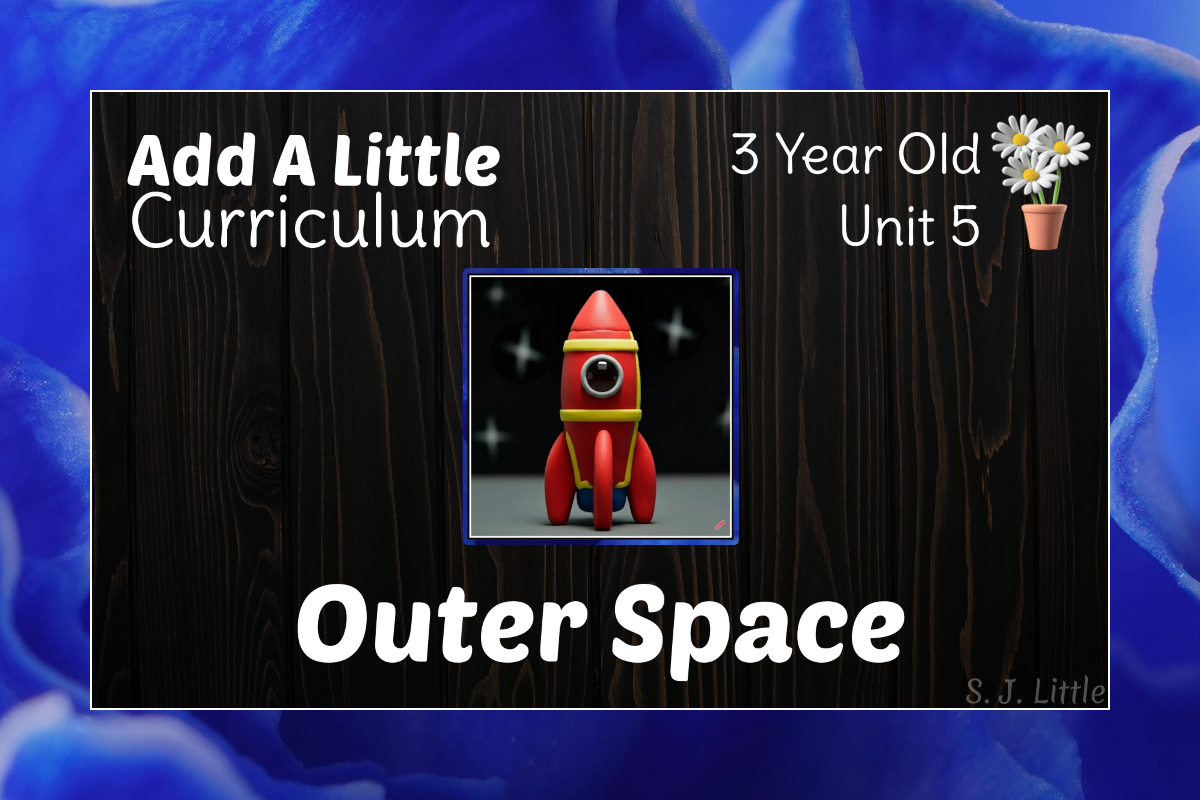
Add A Little – 3 Year Old Curriculum – Unit 5
Outer Space
Disclaimer: All activities require adult supervision and discretion. Read more...
Want to learn more about Add A Little Curriculum? Check out the Parent / Teacher Guide
Movement Moment
Fly to the Moon
Supplies:
- Optional: Hula hoops (1 per person)
- Optional: Space helmets (1 per person)
Prep:
- Clear a large area for active play.
Time to Play:
- Gather your children and explain that you are going to play a pretend game. You are going to fly to the moon! (Be excited.)
- If using hula hoops, explain that the hula hoops are your spaceships. Place one hula hoop per person on the ground with room around them. As you do so, assign each child to stand beside a hoop.
- Say, “We’re going to fly to the moon, but first, we need to get ready.”
- “Put your space suit on.” Pretend to step into a full-body suit and do up the zipper.
- “Put your space boots on.” Pretend to put on heavy boots.
- “Put your space helmet on.”
- “Put your space gloves on.”
- “Open the door to your spaceship and climb in.” If using hula hoops, step into the centre of the hoop.
- “Buckle up your seat belt.”
- “Now get ready to blast off.” Crouch low.
- “10, 9, 8, 7, 6, 5, 4, 3, 2, 1 … Blast off!”
- Jump up and run around the room several times.
- Point to a far corner of the room. “There’s the moon! Let’s go land on it.”
- Run together to that corner and “land” your spaceships.
- Unbuckle your seat belt, open the door, and climb out of your spaceship. Pretend to moon walk with slow-motion movements and exaggerated jumps.
- Climb back into your spaceships, close the door, and buckle up. Blast off to fly back to Earth. Run around the room several times before landing on Earth.
Art Activity
Cardboard Tube Rockets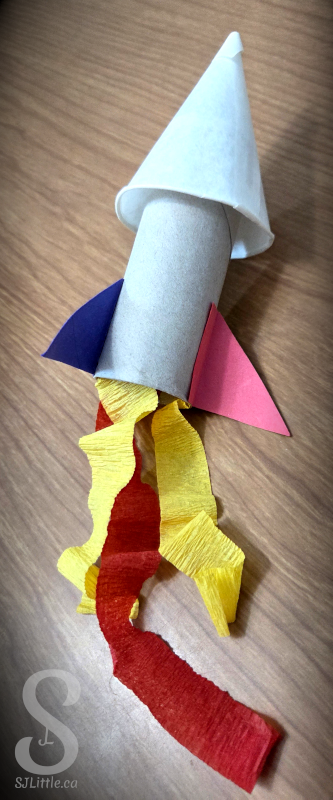
Supplies:
- 1 cardboard tube per child (use an empty toilet paper roll or cut a paper towel roll shorter)
- Coloured construction paper
- 1 paper cone per child (either use a cone-shaped paper cup or roll one using coloured paper)
- Markers (or crayons)
- Glue stick (or tape)
- Hot glue gun and glue (alternatively use tape, but this is more difficult)
- Scissors
- Optional: red, orange, and/or yellow tissue paper or streamers
Prep:
- Ahead of time, use the hot glue gun to secure the cone on top of the cardboard tube. This forms the body of the rocket.
- Cut out 2-4 triangle fins (per child) from the coloured paper.
- Optional: Cut 1-inch wide strips of tissue paper that are about 6 inches long. Prepare around 3 strips per child.
Time to Create:
- Invite your child to the table. Encourage them to take a moment to colour the tube and cone with markers. (Drawing gently on a curved surface is great fine motor practice.)
- Allow your child to choose which colours of triangle fins to add to their rocket.
- Fold the edge of each fin, then, using a glue stick, attach each fin around the base of the rocket.
- Optional: If you have tissue paper, allow your child to choose 3 strips. Attach these strips inside the bottom of the rocket leaving them trailing out behind like fire.
Five-Minute Focus
Let’s Learn the ABCs
Letters of the Unit
- QRS
Letter Activity:
- Supplies: 1-2 strings per child
Time to Learn:
- Give each child one or two strings. Encourage them to make the shape of each letter, one at a time, using the string.
-
For other letter teaching techniques, visit: https://sjlittle.ca/preschool/teaching-the-abcs-at-circle-time/
Let’s Sing
Zoom Zoom Zoom
Let’s Read
I Want to Go to the Moon
(Book + CD)
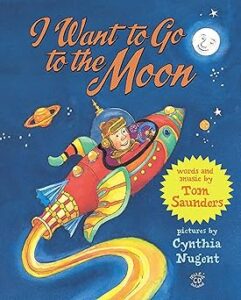
Author: Tom Saunders
Illustrator: Cynthia Nugent
Let’s Sing
Christian Song
He’s Got the Whole World in His Hands
For actions and additional verses, click here.
Let’s Read
BIBLE
Read the next story in the picture Bible you are working your way through. Need recommendations for a good Children’s picture Bible? Click Here